Introduction
In the world of cherished childhood possessions, stuffed animals hold a special place, serving as confidants, playmates, and sources of comfort. But over time, these beloved companions can endure the wear and tear of countless cuddles, adventures, and mishaps. If your furry friend has fallen victim to a torn seam, lost stuffing, or a deflated expression, fear not! This comprehensive guide will provide you with step-by-step instructions, practical tips, and creative ideas to restore your stuffed animal to its former glory.
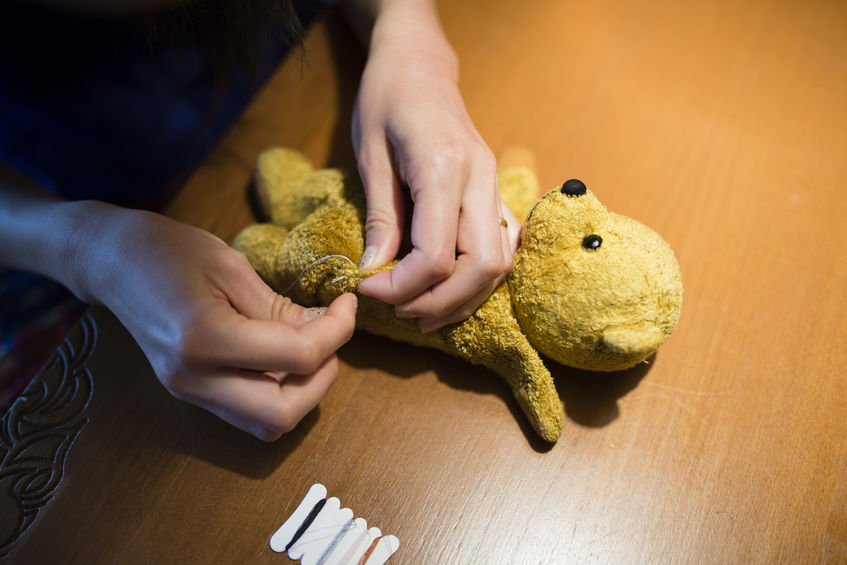
Image: www.thezoofactory.com
Whether you’re a seasoned crafter or a novice with needle and thread, this guide will empower you with the knowledge and techniques you need. By following these detailed instructions and tapping into your own creativity, you can breathe new life into your cherished stuffed companion, ensuring it remains a beloved part of your life for years to come.
Essential Tools and Materials for Successful Repairs
Before embarking on the journey of stuffed animal repair, it’s crucial to gather the necessary tools and materials to ensure a seamless and effective process. Depending on the nature of the repair, you may require the following items:
- Needle and thread: Choose a needle size appropriate for the fabric of your stuffed animal, typically between size 9 (large eye) and 12 (regular eye). Select a thread color that closely matches the original fabric.
- Scissors: Sharp, precision scissors are essential for both cutting thread and snipping away excess fabric.
- Stuffing: If your stuffed animal has lost its plumpness, you will need to replace some of the stuffing. Choose a stuffing material that matches the original as closely as possible, such as polyester fiberfill or hypoallergenic stuffing.
- Fabric scraps: For repairing tears or replacing missing pieces, fabric scraps that closely resemble the original material are essential.
- Needle felting kit: For repairing holes or reshaping facial features, a needle felting kit can be incredibly useful.
- Fabric glue: In some cases, fabric glue can be an effective alternative to sewing, especially for small repairs or delicate fabrics.
Diagnosing and Assessing the Damage
Before you begin the repair process, it’s essential to carefully examine the stuffed animal and diagnose the specific issues it faces. Check for:
- Tears: Look for rips, holes, or seams that have come undone.
- Missing stuffing: Feel for areas that have lost plumpness or have become flat.
- Deflated features: Facial features such as eyes, nose, or mouth may have lost their shape or definition.
- Loose or broken joints: Check if there are any joints that have become loose or disconnected.
Repair Techniques for Common Stuffed Animal Issues
With a clear understanding of the damage you’re dealing with, let’s dive into the specific repair techniques you can employ to restore your stuffed animal’s pristine condition:

Image: www.youtube.com
Fixing Tears and Holes
- Turn the stuffed animal inside out: This will make it easier to access the damaged area
- Match fabric: Find a fabric scrap that closely matches the original material, especially in terms of texture and color.
- Cut and sew: Cut a piece of matching fabric slightly larger than the hole or tear. Carefully hand-sew the patch onto the damaged area, using a whip stitch or blanket stitch.
Replacing Lost Stuffing
- Create a small opening: Carefully cut a small hole in an inconspicuous area of the stuffed animal, such as a seam or a hidden spot.
- Insert stuffing: Use a spoon or your fingers to gently stuff the animal with the chosen stuffing material, ensuring it is evenly distributed.
- Close the opening: Once the stuffing is added, carefully hand-sew the opening closed using a whip stitch or ladder stitch.
Reshaping Facial Features
- Needle felting: If the facial features have become deflated or misshapen, you can use a needle felting kit to reshape them. Gently poke the felting needle into the fabric around the feature, using small, quick movements.
- Embroidery: If necessary, you can embroider additional stitches to redefine the facial features, such as the eyes, nose, or mouth.
Fixing Loose Joints
- Identify the joint: Determine which joint has become loose and identify the type of joint it is, such as a button joint or a safety joint.
- Reattach the joint: If the joint is a button joint, you can sew the button back into place. If it’s a safety joint, you will need to replace the disk and washer components.
How To Fix A Stuffed Animal
Additional Tips and Creative Ideas for Stuffed Animal Repair
- Patience and precision: Stuffed animal repair requires patience and precision. Take your time and carefully follow the instructions to ensure the best results.
- Creative flair: If the damage to your stuffed animal is extensive or requires replacing significant
