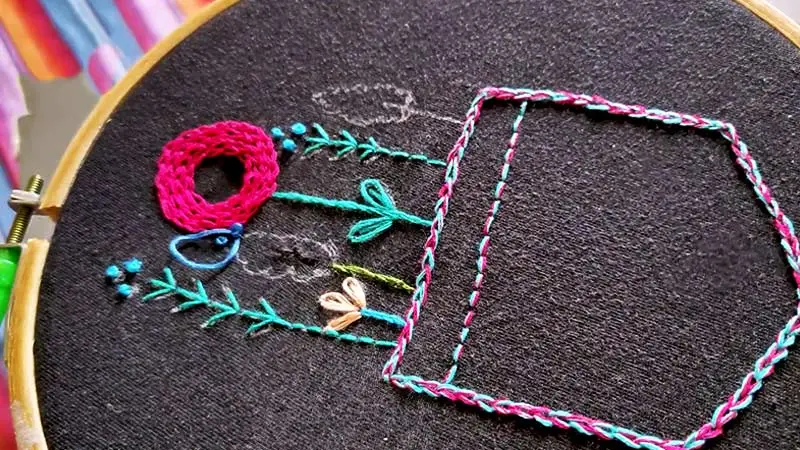
Embroidery, the intricate art of embellishing fabrics with thread, can elevate any textile to a cherished work of art. From intricate patterns on traditional garments to playful motifs on modern accessories, embroidery adds depth, color, and beauty to our lives. However, this delicate artistry may occasionally succumb to wear and tear, with threads coming loose and threatening to unravel the fabric’s charm. In such cases, it becomes crucial to mend the loose embroidery promptly and restore the piece’s original splendor.

Image: sewingmachinezed.com
Before we delve into the techniques of mending loose embroidery, it’s essential to understand why threads may loosen in the first place. Several factors, such as friction, tension, and general wear and tear, can contribute to this issue. Friction occurs when the embroidered fabric rubs against other surfaces, leading to the weakening and eventual loosening of threads. Excessive tension while embroidering can also compromise the thread’s integrity, resulting in premature wear. Additionally, time and repeated use take their toll on embroidery, weakening the fibers and increasing the likelihood of threads coming loose.
Equipped with this knowledge, let’s explore the practical steps to fix embroidery and restore its beauty:
Materials You’ll Need:
-
Matching embroidery thread
-
Sharp needle (size 10-12)
-
Thimble (optional)
-
Ruler or measuring tape
-
Scissors
Step-by-Step Instructions:
- Inspect the Damage:
Identify the extent and location of the embroidery that has come loose. Determine the length and direction of the stitches that need mending.
- Choose Matching Thread:
Select an embroidery thread that closely matches the color and thickness of the original thread. This will ensure an invisible repair once completed.
- Thread the Needle:
Thread the needle with the matching thread, securing the end with a knot or a dab of glue. Using a thimble can protect your finger from needle pricks.
- Secure Loose Threads:
Gently pull on the loose threads to straighten them out. Using a small stitch, such as a backstitch, sew over the loose threads to secure them in place. Be careful not to pull too tightly, as this can cause the fabric to pucker.
- Strengthen the Stitches:
Reinforce the repaired area by sewing perpendicular stitches over the existing embroidery. These stitches should be parallel to the direction of the original embroidery design. You can use a satin stitch or a running stitch for this step.
- Trim Excess Thread:
Once the loose embroidery has been secured, trim any excess thread close to the fabric’s surface. This will give the repair a neat and professional finish.
- Iron the Embroidery:
Use a warm iron to gently press the repaired area. This will help set the stitches and restore the embroidery to its original appearance.
Tips for Success:
-
If multiple threads have come loose, mend them individually to avoid creating unnecessary tension on the fabric.
-
When choosing matching thread, consider both the color and weight of the original thread. A slightly heavier thread may be necessary if the original embroidery was particularly dense.
-
Keep your stitches as small and discreet as possible. The aim is to blend the repair seamlessly with the original embroidery.
-
If the loose embroidery is located on a delicate fabric, such as silk or lace, use a very fine needle to minimize damage to the fabric.
-
Regular maintenance of your embroidered items can help prevent threads from coming loose. Hand wash delicate items and avoid exposing them to excessive friction or heat.
By following these steps and tips, you can effectively mend and fix loose embroidery, preserving the beauty and longevity of these cherished textiles. The satisfaction of restoring your embroidered items to their former glory will add a sense of accomplishment to your crafting repertoire, and you’ll be able to enjoy your embroidered treasures for years to come.

Image: www.pinterest.com
How To Fix Embroidery Coming Loose