Introduction
Like a sudden snapping wave that unravels the serene sea, a pulled thread can leave an unsightly tear in your favorite piece of clothing. From delicate silk shirts to sturdy denim jeans, pulled threads are a common occurrence that can instantly ruin a perfectly good outfit.
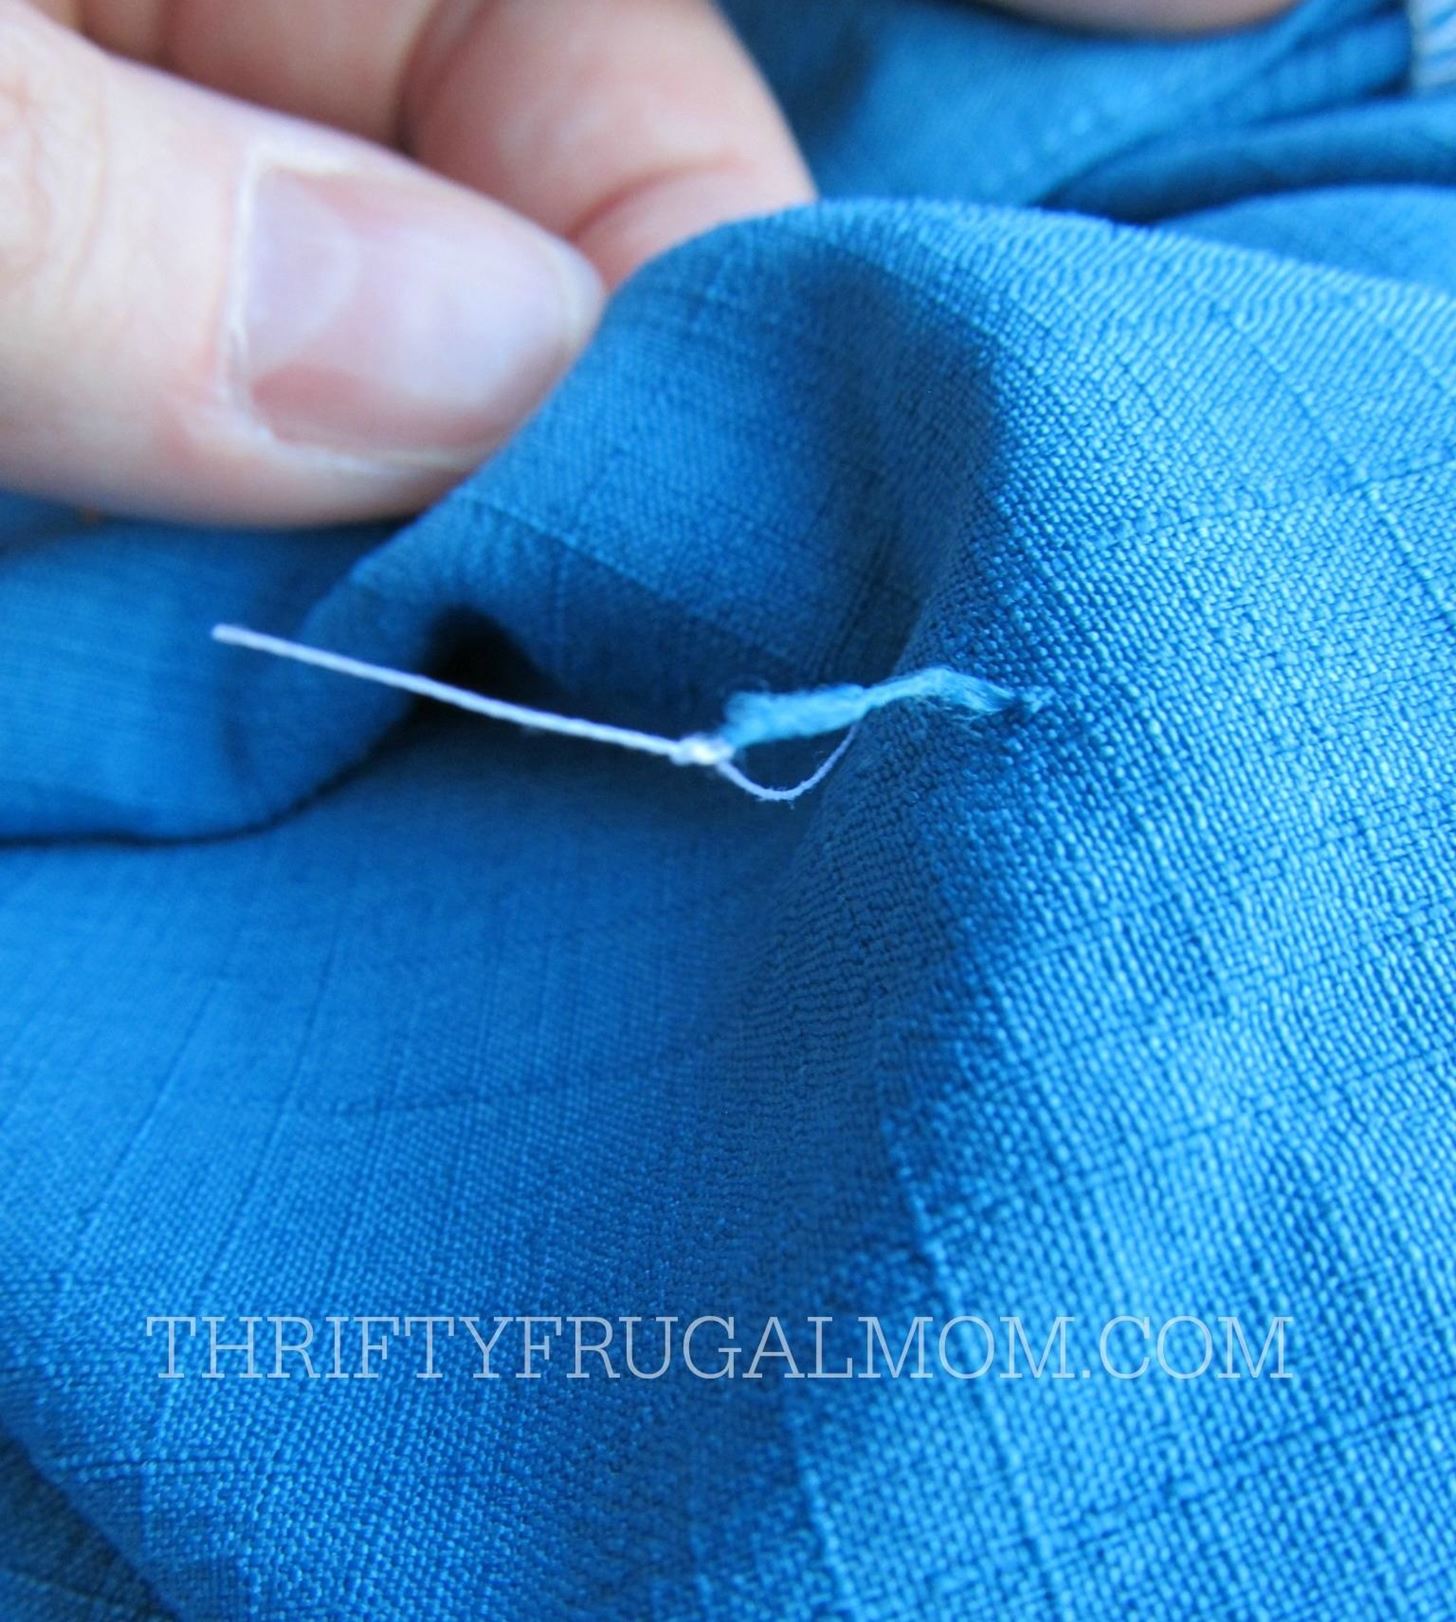
Image: fashion.wonderhowto.com
Fear not, for the age-old art of thread repair can come to your rescue, empowering you to restore your precious garments to their former glory. In this comprehensive guide, we will delve into the intricacies of fixing pulled threads, uncovering the secrets of mending techniques and offering expert advice to guide you through the process.
Understanding the Pulled Thread
What is a Pulled Thread?
A pulled thread occurs when one or more threads in a woven fabric break, creating a small hole or tear in the weave. It can be caused by various factors, including snags on sharp objects, friction between fabrics, or even simple wear and tear.
Assessing the Damage
Before attempting to fix a pulled thread, it is crucial to assess the extent of the damage. Determine if it is a simple unraveling of a few threads or a more significant tear. The size and location of the pull will influence the repair strategy you employ.
DIY Thread Mending: A Step-by-Step Guide
Choose the Right Thread
Selecting the correct thread is essential for achieving a seamless repair. Match the color and weight of the thread to the damaged garment, ensuring a discreet and durable mend.
Needle Selection
A sharp, fine-pointed needle is ideal for thread mending. A size 10 or 12 tapestry needle should suffice for most fabrics. Thicker fabrics may require a heavier needle, such as a size 7 or 8.
Thread the Needle
Double or triple the thread to create a stronger stitch. Thread the needle and knot the end, securing it in place.
Weave the Threads
To weave the threads back into place, insert the needle under the first thread on the opposite side of the tear. Bring the needle up through the next hole, creating a stitch. Repeat this process, weaving the threads back and forth until the hole is closed.
Knotting for Security
Once you reach the end of the tear, knot the threads securely to prevent the stitch from unraveling. Double or triple the knot for added strength.
Expert Tips for Thread Repair
Use a Magnifying Glass
For intricate tears or delicate fabrics, a magnifying glass can provide a clearer view of the damaged area, enabling you to work with greater precision.
Be Patient and Take Your Time
Thread repair requires patience and a steady hand. Rushing the process can lead to mistakes or further damage to the fabric. Take your time and focus on achieving a neat and durable mend.
Use a Fabric Adhesive
For larger tears or heavy fabrics, applying a thin layer of fabric adhesive can provide additional support and prevent the mend from unraveling.

Image: knowhow.napaonline.com
Frequently Asked Questions
Q: Can I fix a pulled thread on any type of fabric?
A: Thread mending techniques can be applied to most woven fabrics, including cotton, silk, denim, and wool. However, some delicate fabrics may require professional repair.
Q: What if the pulled thread is in a seam?
A: Repairing a pulled thread in a seam requires slightly different techniques. Use a seam ripper to carefully open the seam and weave the threads back into place. Re-stitch the seam using matching thread.
How To Fix Pulled Thread
Conclusion
Mastering the art of thread repair can save you money and breathe new life into your favorite garments. By understanding the techniques and following the tips outlined in this guide, you can confidently tackle pulled threads and restore your clothes to their pristine condition. Whether you are a beginner or an experienced stitcher, the knowledge gained from this article will empower you to handle thread mends with skill and precision.
If you found this guide informative, please consider sharing it with others who may benefit from its knowledge. Happy mending!
