My fingers tensed as I braced myself for the final boss battle. As I pressed down on the L2 button to aim my shot, nothing happened. Panic surged through me as I realized the button was broken! The fate of my virtual world hung in the balance. Determined to conquer this controller crisis, I embarked on a journey to revive my trusty L2 button, and here I share my findings with you today.
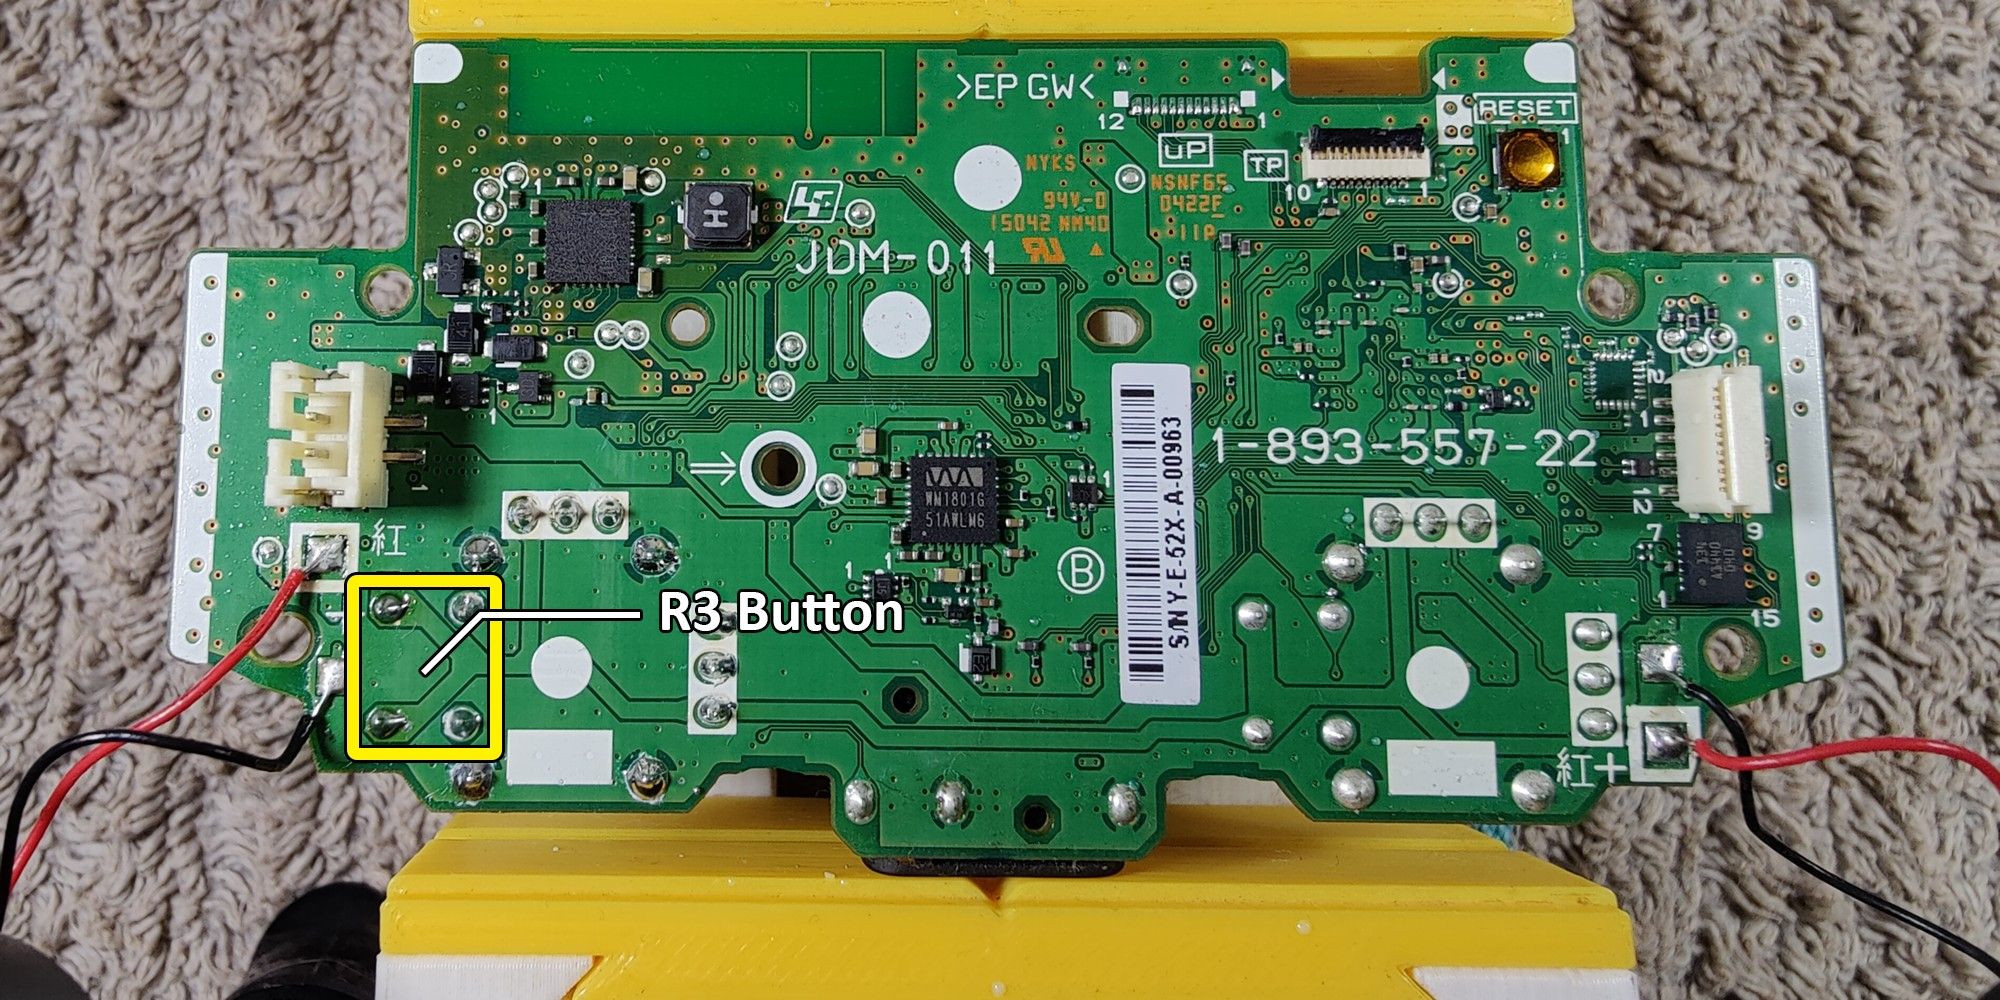
Image: www.makeuseof.com
Troubleshooting the L2 Button Malfunction
Before delving into repairs, it’s crucial to understand the potential causes of a malfunctioning L2 button. Common culprits include:
- Physical damage: Dropping or mishandling the controller can dislodge or break internal components.
- Dirt and debris: Dust and grime can accumulate beneath the button and hinder its operation.
- Software glitches: Occasional software updates may introduce bugs that affect button functionality.
Disassembling the Controller
To access and repair the L2 button, you’ll need to disassemble your PS4 controller. Follow these steps cautiously:
- Power down your controller and disconnect it from any devices.
- Locate the four screws at the back of the controller and remove them using a T9 Torx screwdriver.
- Gently separate the front and back shells of the controller, being mindful of the ribbon cables connecting them.
- Use a soft brush or compressed air to carefully remove any visible dust or crumbs.
- If the button is sticky, you can apply a small amount of isopropyl alcohol to a cotton swab and gently clean the button and its surrounding area. Allow it to dry completely before reassembly.
- Disconnect the ribbon cable connecting the L2 button module to the controller’s mainboard.
- Use a pair of tweezers or small pliers to gently remove the old button module and replace it with the new one.
- Reconnect the ribbon cable and reassemble the controller, ensuring all screws are securely tightened.
- Connect your controller to your PS4 via a USB cable.
- Go to “Settings” > “Devices” > “Controllers” and select “Firmware Update.”
- Follow the on-screen instructions to complete the update process.
- Handle your controller with care to prevent physical damage.
- Regularly clean your controller to prevent dirt and debris buildup.
- If you encounter persistent button malfunctions, consult a professional electronics repair technician.
- Before attempting any repairs, watch online tutorials or consult reliable repair guides.
Cleaning the L2 Button
Accumulated dirt or debris may be obstructing button movement. To resolve this:

Image: www.youtube.com
Replacing the L2 Button Module
If cleaning doesn’t solve the issue, the L2 button module may need to be replaced. You can purchase a replacement module online or from electronics stores.
Updating the Controller Firmware
Occasional software updates may release patches for button-related glitches. To update your controller firmware:
Tips from the Pros
FAQs
Q: Can I fix a broken L2 button without disassembling the controller?
A: In most cases, disassembling the controller is necessary to access and repair the L2 button.
Q: What should I do if my controller’s warranty is still valid?
A: Contact the manufacturer or retailer where you purchased the controller for professional assistance under the warranty.
Q: How often should I clean my PS4 controller?
A: Regularly cleaning your controller, especially after extended gaming sessions, will help prevent button malfunctions and prolong its lifespan.
How To Fix A Ps4 Controller L2 Button
Conclusion
With these troubleshooting techniques at your disposal, you can confidently navigate the repair process and restore your PS4 controller’s L2 button to pristine condition. By understanding the potential causes, following the step-by-step instructions, and seeking professional guidance when needed, you can conquer any button-related obstacles and continue to dominate your virtual adventures.
Are you ready to embark on this controller restoration quest? Share your thoughts and experiences below, and let’s keep our gaming controllers in tip-top shape together!
