Delta tub faucets are renowned for their sleek designs and reliable performance. However, even the most durable fixtures can encounter occasional hiccups. If you’re facing a Delta tub faucet that’s acting up, fret not! This comprehensive guide will equip you with the knowledge and step-by-step instructions to repair it like a pro.
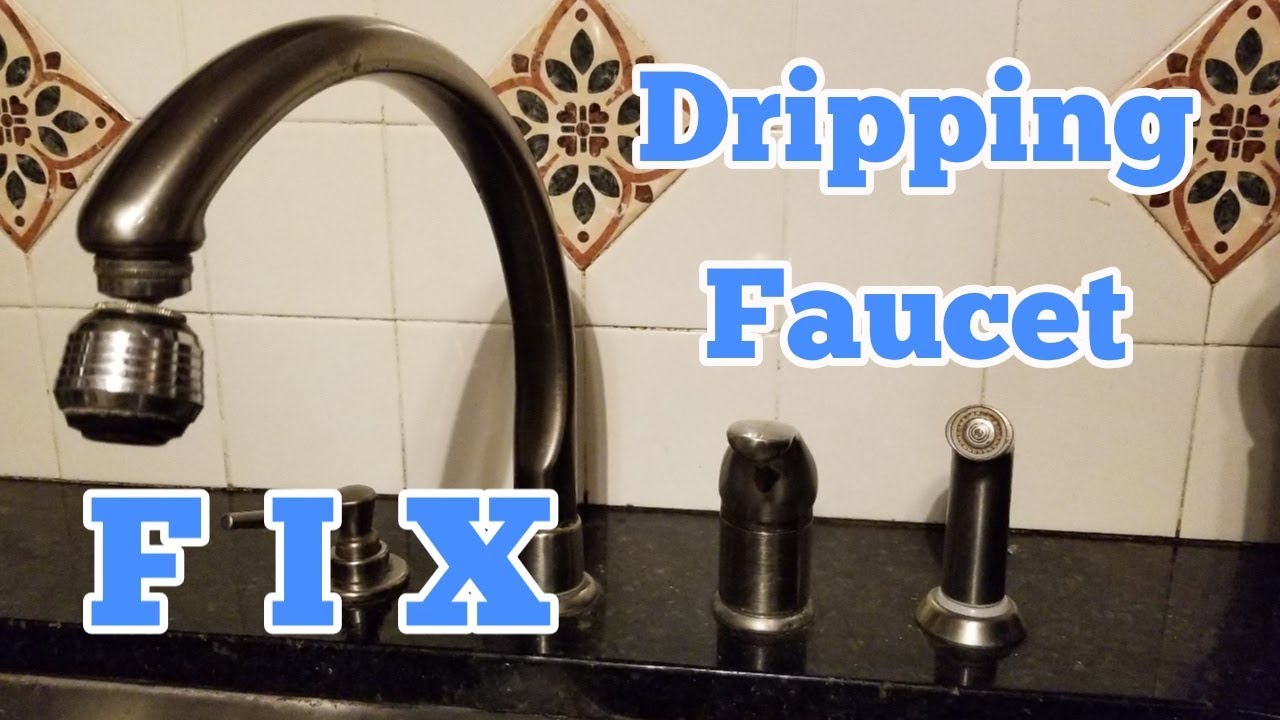
Image: semisonline.net
Diagnose the Issue: Understanding the Symptoms
Pinpointing the root cause is crucial before embarking on any repairs. Common Delta tub faucet issues include:
- Leaking from the handle: A worn-out washer or O-ring can cause water to seep from the handle.
- Leaking from the base: A faulty cartridge or loose connection at the base of the faucet can lead to leaks.
- Difficulty turning the handle: Corrosion or debris can hinder smooth operation of the handle.
- Low water pressure: Clogged aerators or sediment buildup in the valve can restrict water flow.
Tools and Materials You’ll Need
Gather the following tools and materials before starting the repairs:
- Adjustable wrench
- Allen wrench (optional)
- Screwdriver
- Cartridge puller (if replacing the cartridge)
- Replacement washers and O-rings (if needed)
Step-by-Step Repair Guide
1. Turn Off the Water Supply:
Start by turning off the water supply valves beneath the sink or inside the vanity cabinet.
2. Remove the Handle:
First, remove the cap on the handle. Using an Allen wrench or screwdriver, loosen the screw underneath the cap and pull the handle straight up.
3. Access the Cartridge:
Remove the retaining nut or clip securing the cartridge. Use a cartridge puller to extract the cartridge from the faucet body.
4. Inspect and Replace the Cartridge:
Examine the cartridge for any damage or wear. If necessary, replace it with a new cartridge. Lubricate the O-rings on the new cartridge before inserting it into the faucet body.
5. Reassemble the Faucet:
Tighten the retaining nut or clip to secure the cartridge. Replace the handle and tighten the screw.
6. Fix Leaks from the Handle:
Replace the worn-out washer or O-ring on the handle stem. Tighten the handle back onto the faucet, ensuring it aligns properly.
7. Fix Leaks from the Base:
Tighten the connection at the base of the faucet using an adjustable wrench. If the leak persists, you may need to replace the cartridge or base gasket.
8. Clear Clogs and Debris:
Remove the aerator and clean it thoroughly to remove debris. Inspect the valve for sediment buildup and clean it as needed.

Image: nagato.cc
Expert Tips for Success
- Always wear safety glasses when working on plumbing fixtures.
- Use the right tools for each step to avoid damaging the faucet.
- If you’re not comfortable performing the repairs yourself, don’t hesitate to contact a qualified plumber.
- Regular maintenance and cleaning can help prevent future faucet issues.
Troubleshooting:
Q: Why is my Delta tub faucet leaking from the base?
A: The leak could be caused by a loose connection, a faulty cartridge, or a worn-out base gasket.
Q: How do I adjust the water temperature on a Delta tub faucet?
A: Look for a set screw or handle on the faucet body that controls the water temperature. Adjust it as desired.
Q: How often should I clean my Delta tub faucet?
A: It’s recommended to clean your faucet at least once every few months to remove mineral deposits and prevent clogs.
How To Fix A Delta Tub Faucet
Conclusion
Fixing a Delta tub faucet can be an easy and rewarding DIY task. By following the steps outlined in this comprehensive guide, you can restore your faucet to its former glory, save on plumbing costs, and gain a sense of accomplishment. Remember, with a little preparation and the right tools, you can tackle any faucet repair with confidence. Happy plumbing!
