Discover various information about How To Install A Heating Element On A Whirlpool Dryer here, hopefully fulfilling your information needs.

How to Install a Heating Element on a Whirlpool Dryer
A clothes dryer can be a real lifesaver, especially during the colder months. But what happens when your dryer starts to leave your clothes damp or, worse yet, if it stops working altogether? One of the most common problems with dryers is a faulty heating element.
If you’re experiencing any of these issues, it’s possible that your dryer’s heating element needs to be replaced. Replacing a heating element is a relatively simple task that can be completed in about an hour. Here’s a step-by-step guide on how to do it:
Tools and Materials You’ll Need
- New heating element
- Screwdriver
- Nut driver
Safety First
Before you begin, make sure to unplug your dryer and turn off the gas supply (if applicable).
Step 1: Remove the Rear Panel
Locate the two screws that hold the rear panel in place and remove them. Carefully lift the rear panel up and off the dryer.
Step 2: Locate the Heating Element
Once the rear panel is removed, you will be able to see the heating element. It is usually located at the bottom of the dryer, behind the drum.
Step 3: Disconnect the Wires
Disconnect the wires that are connected to the heating element. Be careful not to damage the wires.
Step 4: Remove the Heating Element
Remove the screws that hold the heating element in place and pull it straight out. Be careful not to bend or break the element.
Step 5: Install the New Heating Element
Insert the new heating element into the dryer and secure it with the screws. Connect the wires to the new heating element.
Step 6: Reinstall the Rear Panel
Carefully lift the rear panel back into place and secure it with the screws.
Step 7: Test the Dryer
Plug the dryer back in and turn it on. Select a drying cycle and start the dryer. The dryer should now be heating up properly.
Tips and Expert Advice
- If you’re not comfortable replacing the heating element yourself, you can call a qualified appliance repair technician to do it for you.
- Be sure to unplug the dryer and turn off the gas supply before you begin working on it.
- Handle the heating element with care. Do not bend or break it.
- Make sure to connect the wires to the new heating element correctly. Reversing the wires can damage the dryer.
FAQ
- Q: How often should I replace my dryer’s heating element?
- A: The heating element should last for several years. However, if you use your dryer frequently, you may need to replace it more often.
- Q: What are the symptoms of a faulty heating element?
- A: Symptoms of a faulty heating element include clothes that are not drying properly, taking longer to dry, or the dryer not heating up at all.
- Q: Can I use any heating element in my dryer?
- A: No. You need to use a heating element that is specifically designed for your model of dryer.
Conclusion
Replacing a heating element on a Whirlpool dryer is a relatively simple task that can be completed in about an hour. By following the steps outlined in this guide, you can save yourself the cost of calling a repair technician.
Are you interested in learning more about dryer repair? Check out our other blog posts for more tips and advice.
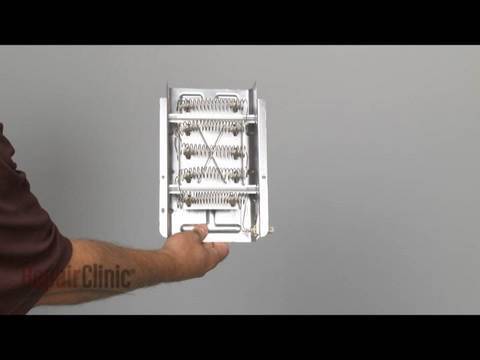
Image: www.appliancevideo.com
You have read How To Install A Heating Element On A Whirlpool Dryer on our site. Thank you for your visit, and we hope this article is beneficial for you.
