Introduction
The tranquil hum of a sprinkler system can lull us into a sense of greenery and contentment. However, a leaking sprinkler head can quickly turn that peace into a worry—and a potential drain on your resources. Instead of letting the problem escalate, take matters into your own hands and fix that leaking sprinkler head with this comprehensive guide. Remember, while most sprinkler repairs are within the reach of DIY enthusiasts, always prioritize safety and shut off the water supply before attempting any repairs.
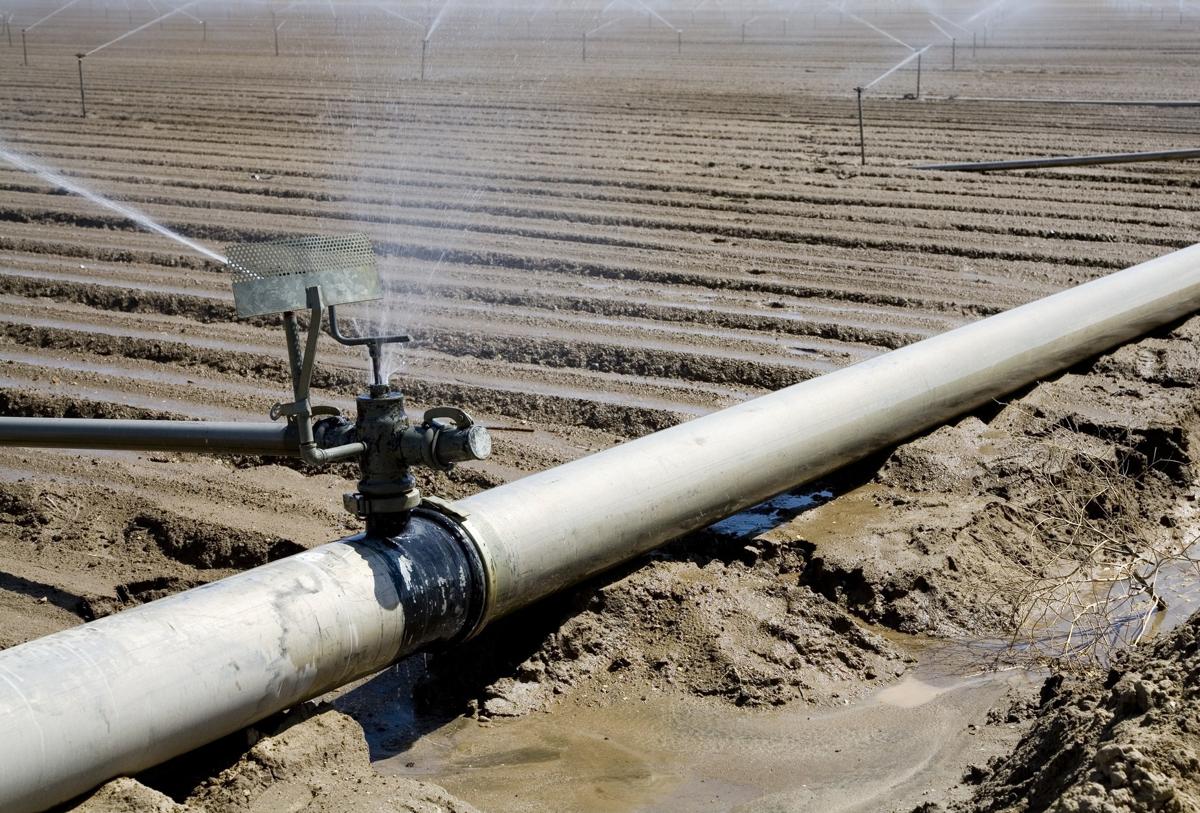
Image: gardenerdy.com
Identifying the Culprit: Types of Leaking Sprinkler Heads
Sprinkler heads come in various shapes and sizes, each designed for specific irrigation needs. However, regardless of the type, a leaking sprinkler head can result from a few common causes. Let’s delve into the different types of sprinkler heads and their potential leakage points:
1. Pop-Up Spray Heads
These heads are designed to retract when not in use, blending seamlessly with your lawn. Leaks can occur due to a damaged or faulty seal, clogged nozzle, or misaligned head.
2. Rotor Heads
Rotor heads rotate to distribute water evenly over larger areas. Leaks may arise from worn-out seals, damaged gears, or a clogged rotor assembly.
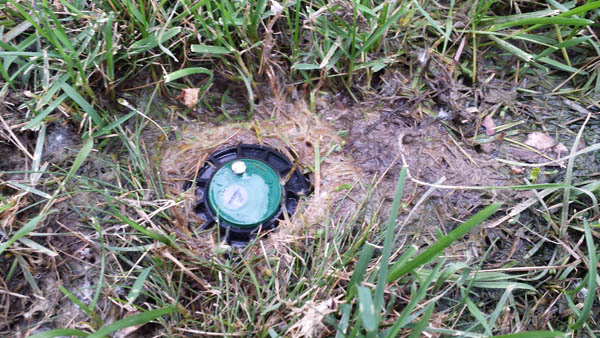
Image: danssprinkler.com
3. Drip Emitters
Drip emitters slowly release water directly to plant roots. Leaks can be caused by clogged emitters, damaged tubing, or improper installation.
Step-by-Step Repair Guide: Banishing the Leak
Now that we’ve identified the potential culprits, let’s walk through the step-by-step process of fixing a leaking sprinkler head:
1. Turn Off the Water Supply
Safety first! Locate the water shut-off valve and turn it off to prevent water from gushing out during the repair.
2. Dig Around the Sprinkler Head
Carefully dig around the leaking sprinkler head using a small shovel or trowel. Expose enough of the head and pipe to access the fittings.
3. Remove the Sprinkler Head
Depending on the type of sprinkler head, you may need to unscrew it or use a special tool to detach it from the riser pipe.
4. Inspect and Clean
Inspect the sprinkler head and riser pipe for any visible damage or clogs. Clean the nozzle and other components with a soft brush or compressed air.
5. Replace Worn-Out Parts
If you discover any damaged parts, such as seals, gaskets, or nozzles, replace them with new ones. Ensure the replacements match the original specifications.
6. Reassemble the Sprinkler Head
Reassemble the sprinkler head by reversing the disassembly process. Tighten all connections securely, but avoid overtightening.
7. Reset and Test
Turn on the water supply and check if the sprinkler head is operating correctly. Adjust the spray pattern or rotation as needed.
Expert Tips for Leak Prevention and Maintenance
Preventing sprinkler head leaks in the future is key to maintaining a healthy and efficient irrigation system. Here are some tips from the experts:
1. Regular Inspection:
Regularly inspect your sprinkler heads for signs of damage or wear. Check for cracks, leaks, or misalignment.
2. Avoid Obstacles:
Ensure that sprinkler heads are not obstructed by plants, rocks, or other objects. Obstructions can damage the heads or interfere with their spray pattern.
3. Flush the System:
Periodically flush your sprinkler system by running it for about 15 minutes. This helps remove debris and prevents clogs.
4. Winterization:
In cold climates, drain your sprinkler system before the first frost to prevent freezing and damage.
How To Fix Leaking Sprinkler Head
Conclusion
With a little know-how and a few simple steps, you can fix a leaking sprinkler head and restore your irrigation system to its former glory. Remember, timely repairs can prevent minor problems from escalating into costly water damage. Moreover, by incorporating these expert tips into your maintenance routine, you can enjoy a lush and vibrant lawn for years to come.
