Image: www.hoodmwr.com
Do you treasure your leather boots, donning them with pride every chance you get? But have they recently fallen victim to the ravages of time, developing unsightly cracks that mar their once-pristine appearance? Do not despair! With a little know-how and some tender care, you can breathe new life into your beloved footwear and restore them to their former glory.
Understanding the Genesis of Leather’s Cracking
Leather, a natural material derived from animal hide, is typically durable and resilient. However, prolonged exposure to harsh elements, improper storage, or neglect can compromise its integrity, leading to the formation of cracks. UV rays from sunlight, fluctuations in temperature and humidity, and chemicals like salt can accelerate this degradation process, breaking down the leather’s fibers and causing it to dry out and become brittle.
A Comprehensive Guide to Leather Boot Restoration
Now, let’s delve into the art of leather boot restoration. Armed with the right tools and a bit of patience, you can transform cracked boots into gleaming beacons of style once more.
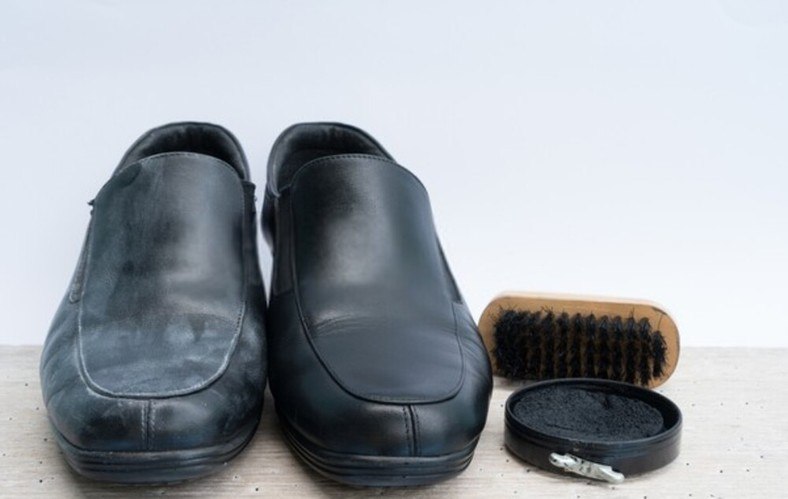
Step 1: Gentle Cleaning
Before applying any treatments, gently brush away any dirt or debris from the boots using a soft-bristled brush. Avoid harsh cleaning solutions as they can further damage the leather. A mild soap and water solution, applied with a soft cloth, should suffice for everyday cleaning.
Step 2: Nourishing with Leather Conditioner
Conditioning is crucial for restoring the leather’s moisture and suppleness. Choose a high-quality leather conditioner specifically formulated for footwear, such as mink oil or neatsfoot oil. Apply the conditioner sparingly using a clean cloth, rubbing it gently into the leather. Let it soak in for at least 12 hours, preferably overnight.
Step 3: Filling the Cracks
To mend the cracks effectively, you’ll need a leather filler. Commercial leather fillers are readily available, or you can create your own by mixing beeswax with a solvent like turpentine. Apply the filler carefully using a small brush or toothpick, filling in all the cracks and crevices.
Step 4: Drying and Patience
After filling the cracks, allow the boots to dry naturally at room temperature. Avoid using heat sources like hair dryers or direct sunlight, as these can damage the leather. Patience is key during this stage, so resist the temptation to speed up the process.
Step 5: Buffing and Polishing
Once the boots are completely dry, buff away any excess filler using a soft cloth. This will help smooth the surface of the leather and enhance its shine. To achieve a glossy finish, apply a leather polish and buff vigorously using a clean cloth.
Expert Insights and Practical Tips
Consult with leather care professionals for personalized advice on specific leather types and the best products to use. Remember, regular maintenance is vital to prolong the life of your leather boots. Clean and condition them regularly, store them in a cool and dry place, and avoid prolonged exposure to extreme conditions.
Conclusion: Renewed Boots, Renewed Pride
Restoring cracked leather boots is a rewarding endeavor that can breathe new life into your beloved footwear. By following these steps and incorporating expert insights, you can repair the cracks, nourish the leather, and restore their pristine appearance. With rejuvenated boots, you’ll be stepping out with renewed confidence and style, cherishing the memories and adventures that lie ahead in their company.

Image: www.pinterest.de
How To Fix Cracking Leather Boots
