Introduction
Water damage can be a common problem in homes, especially in areas prone to flooding or leaks. When this occurs, your sheetrock may become compromised and require repair. Fortunately, fixing water-damaged sheetrock is a task that you can undertake yourself with the right tools and materials. In this article, we will provide a comprehensive guide on how to fix sheetrock water damage, from diagnosing the problem to applying the finishing touches.
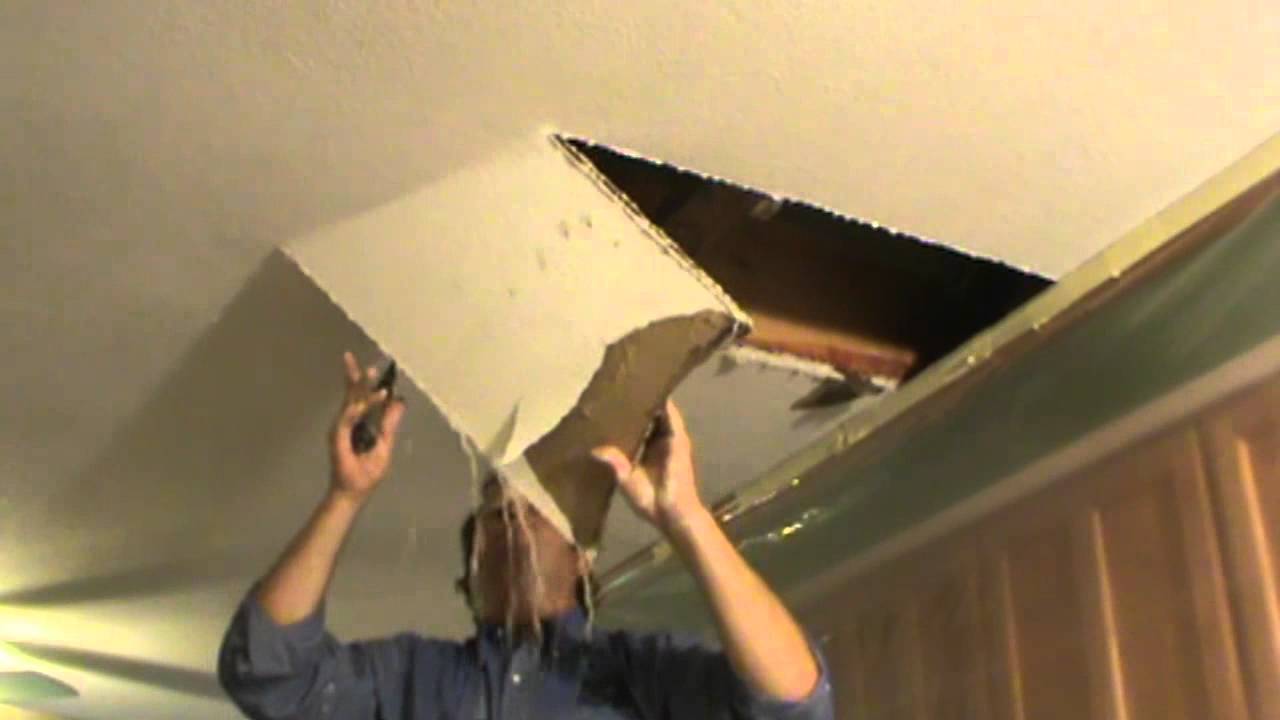
Image: www.tcworks.org
Identifying Water Damage in Sheetrock
The first step in repairing water-damaged sheetrock is to identify the extent of the damage. Look for signs of discoloration, such as brown or yellow stains. You may also notice bulging or sagging in the sheetrock, or it may feel soft to the touch. If you suspect water damage, it’s crucial to address it promptly to prevent further issues.
Repairing Water Damage to Sheetrock
Once you’ve identified the water damage, it’s time to start the repair process. Here’s a step-by-step guide:
1. Remove Damaged Sheetrock
Using a utility knife, carefully cut out the damaged section of sheetrock. Make sure to cut away any mold or mildew that may be present.
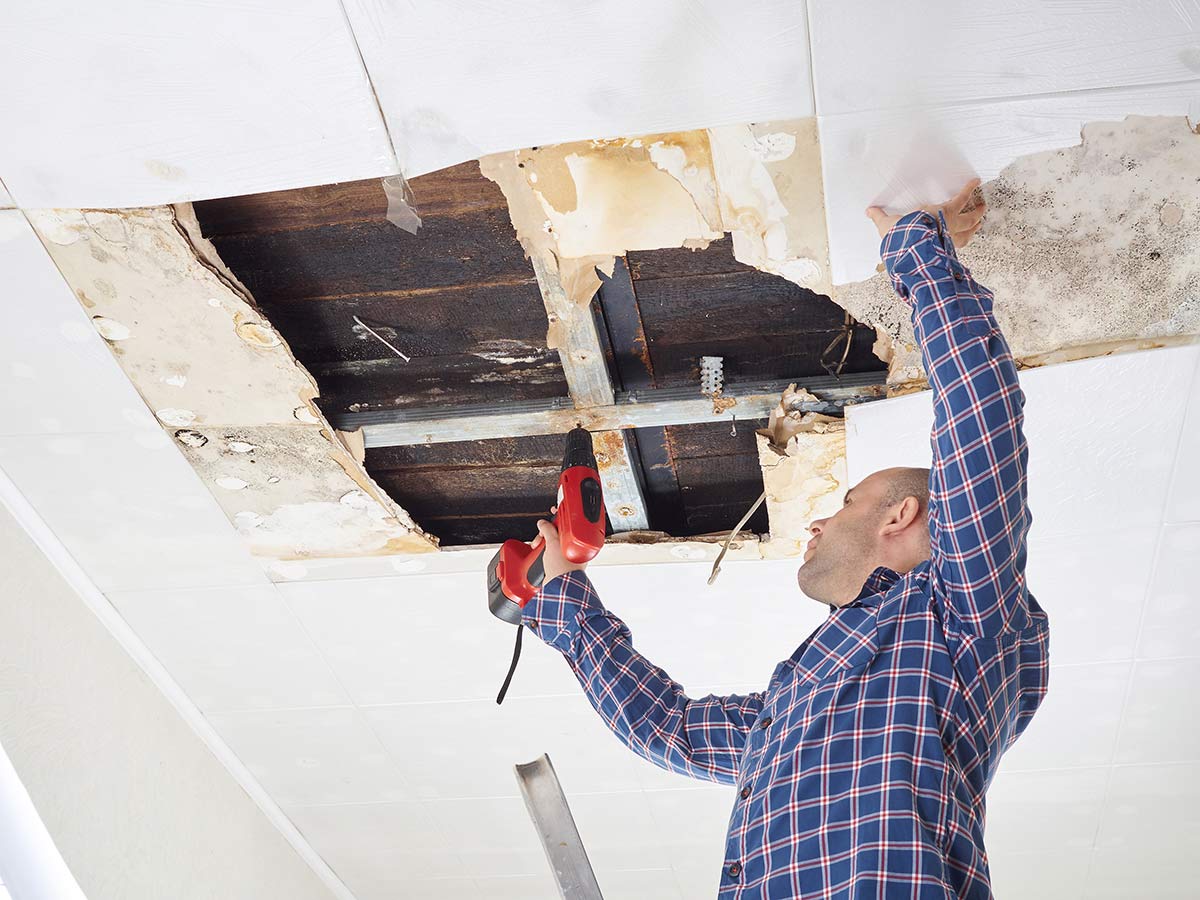
Image: workshopedia.com
2. Install a Backer Board
If the water damage is extensive, you’ll need to install a backer board to provide support for the new sheetrock. Cut a piece of backer board to fit the area you cut out and secure it with drywall screws.
3. Hang New Sheetrock
Cut a piece of new sheetrock to size and hold it in place against the backer board or existing sheetrock. Use drywall screws to secure it, spacing them about 6 inches apart.
4. Tape and Mud
Apply joint tape to the seams between the new and old sheetrock. Then, spread a thin layer of drywall mud over the tape and let it dry. Once dry, apply a second coat of mud and let it dry again.
5. Sand and Paint
Use sandpaper to smooth the surface of the repaired area. Once sanded, you can apply a primer and then paint to match the rest of the wall.
Tips for Repairing Water Damage to Sheetrock
Here are a few tips to help you repair water-damaged sheetrock effectively:
- If the water damage is caused by a leak, it’s essential to find and fix the source before repairing the sheetrock.
- Wear protective gloves and a mask when working with sheetrock, as it can produce harmful dust.
- Use a level to ensure that the new sheetrock is hung evenly.
- Allow sufficient time for the mud to dry before sanding and painting.
- If the water damage is extensive, consider hiring a professional drywall contractor to ensure a quality repair.
Frequently Asked Questions (FAQs)
Q1: How can I prevent water damage to sheetrock in the future?
A1: Install water-resistant sheetrock in areas prone to moisture, such as bathrooms and kitchens. Keep gutters and downspouts clear to prevent leaks. Check your roof and plumbing fixtures regularly for any signs of damage.
Q2: What are the signs of mold and mildew growth on sheetrock?
A2: Look for dark spots, stains, or a musty odor. If you suspect mold or mildew growth, it’s important to address it promptly as it can cause health problems.
Q3: Can I repair water-damaged sheetrock myself?
A3: Yes, repairing water-damaged sheetrock is a project that can be undertaken by DIYers with basic home improvement skills. However, if the damage is extensive, it’s recommended to consult with a professional.
How To Fix Sheetrock Water Damage
Conclusion
Water damage to sheetrock is a common problem that can affect homes in various ways. By following the steps outlined in this article, you can effectively repair damaged sheetrock, restore your wall’s appearance, and prevent further issues. Remember to address the underlying source of the water damage to avoid future problems. If you have any questions or concerns, reach out to a reputable drywall contractor for professional assistance.
